It was a confluence of many different events that lead to a little family business called Lytha Studios. It was partly being in the right place at the right time, partly a passion for self employment mixed with commerce, and partly a sweet little lovebird named Lytha.
I was in the right place at the right time - Virginia Tech - 1993 - just as the World Wide Web was being born. There I learned HTML and how to create content for the WWW. In my junior year, I started a little business creating shop websites. Soon, I created a site of my own for my seed bead jewelry. It never sold a single darn thing. Ever.
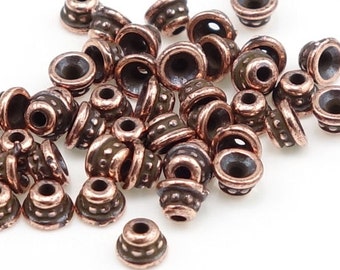
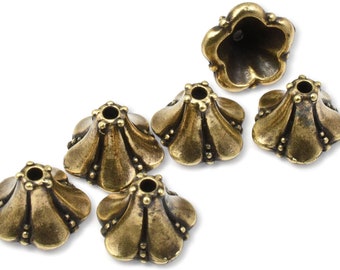
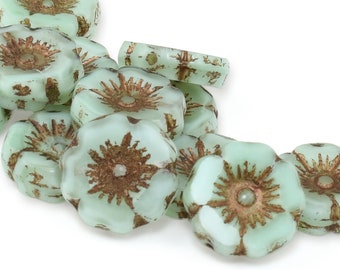
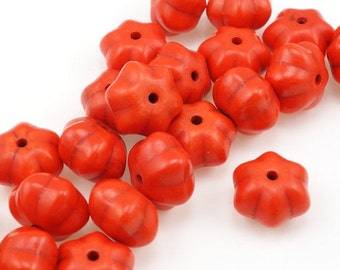
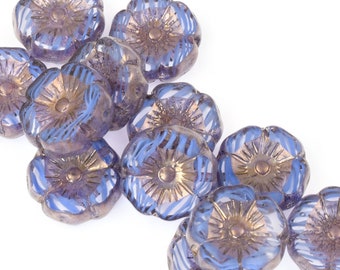
Eventually, I started making gemstone beaded jewelry, which amazingly did sell. I augmented it with Celtic themed gifts, and my "dot com" was officially alive.
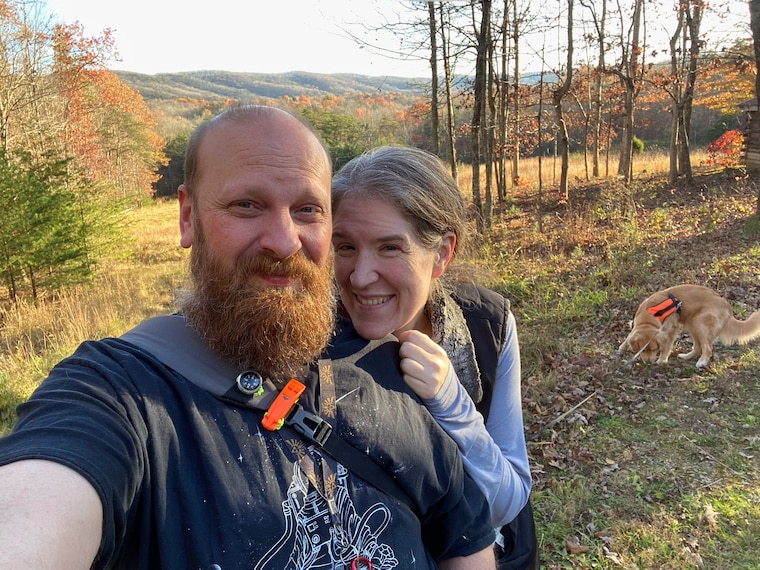
Around this time, I also go married! It was the summer between my junior and senior year, and my best friend and dearest love and I married after a five year courtship. That bearded guy off to the left there - he's been my sweetie since we were sixteen.
Where does Lytha fit in? Everywhere (naturally), which any lovebird will tell you is just as it ought to be. Eric and I bought Lytha about a year before we married. We took her anywhere we went. I wanted to work from home so she would have company all day. She was the queen of the house, worshiped by the humans (again, as it ought to be), and naming the business after her seemed like the most natural thing to do.
By the time I earned my degree, and celebrated my first anniversary, Lytha Studios was turning a profit, and my plans of getting an advanced degree in mathematics morphed into plans to make Lytha Studios the awesomest little shop on the Internet. I was teaching classes on HTML and jewelry making at the local YMCA, and having the time of my life with my hubby, my birds, and my little shop.
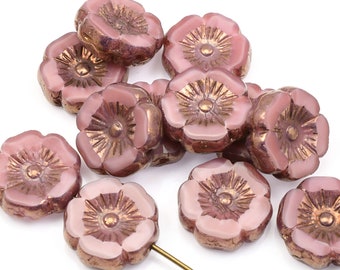
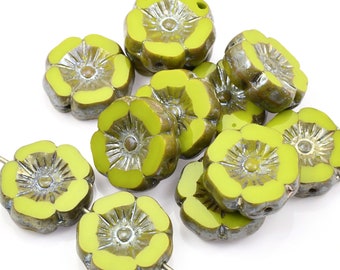
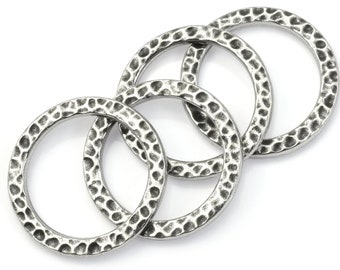
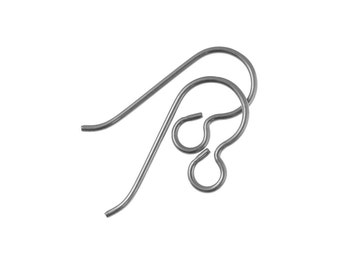
And the rest is history! Lytha Studios has changed over time - slowly turning away from being gift oriented and going back to its roots with beads and jewelry supplies. Lytha's place has been inherited by several beloved kitties and one rowdy golden retriever girl (Mattie).
Eric and I have recently celebrated our twenty-fifth wedding anniversary - and how lucky we are with our son, our furry kids, and our little family business that lets us all be together all the time.
See also - my jewelry shop:
http://OstaraMoonJewelry.Etsy.Com