
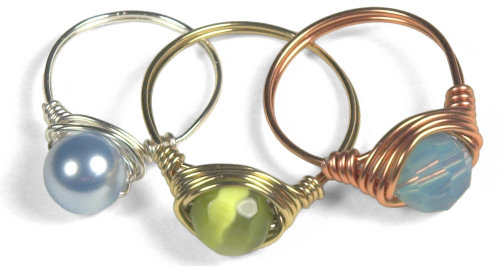
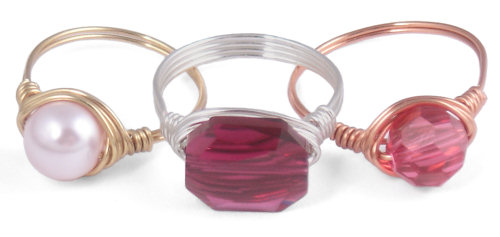
 Simple Wire-Wrapped Ring TutorialThere are a lot of complex wire-wrapped ring tutorials out there, and I'll be honest - this isn't one of them. This is about as "intro" as they come - a basic, simple wire wrapped ring with a single 8mm bead focal. For those of you just getting started with wire jewelry making, this is a terrific way to get your feet wet. With this design, you can create a colorful bit of bling in just a few minutes with a bit of inexpensive 20 or 22 gauge Artistic wire, an 8mm bead, and the necessary tools. I won't admit to how many of these rings are in my jewelry box - but a girl just has to have a ring to match, well, anything! Parts Suggested
|
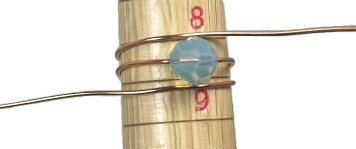 |
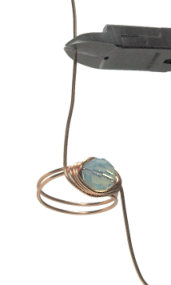
Step 1Cut a length of wire about 12" long. Put the 8mm bead in the middle of the wire, and lay it flat on the mandrel at the line indicating your chosen ring size. Wrap either end of wire around the mandrel and bring it back ot the front so the wire ends lie to either side of the 8mm focal bead. |
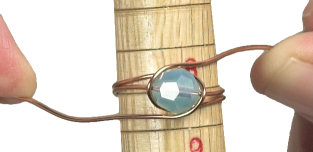 |
Step 2Firmly gripping the wire so it stays taunt, cross the wires around the bead. |
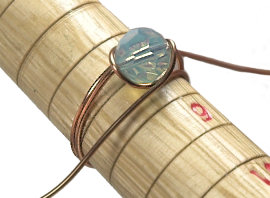 |
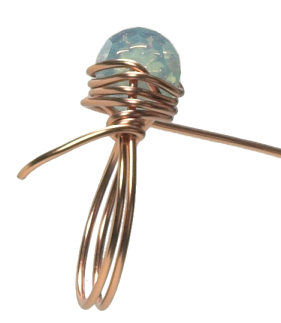
Step 3Again, keeping the wires taught, cross the wires again. As you cross the wires, you want the newly wrapped wire to lay underneath the previous crossed wire. |
 |
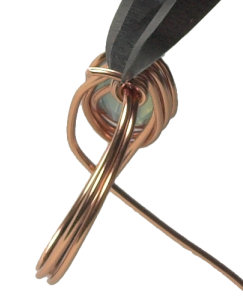
Step 4Keeping wrapping the wires around the circle of the bead, keeping pressure on the wire for, and making each new layer wrapped underneath the previous layer. |
 |
Step 5When you have either four or five wraps (my preference), then you're finished wrapping around the bead, and it is time to finish the sides. |
 |
Step 6Before wrapping the sides, clip the excess wire - give yourself about 1.5" of wire on both sides to finish the ring with. |
 |
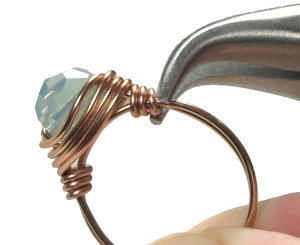
Step 6Wrap the tail of the wire around one side of the ring. Keep firm pressure on the wire to make nice, neat loops. |
 |
Step 8When you have three or four loops, snip off the excess wire with your wire cutters. I snip mine with the cut on top of the ring so that the end isn't underneath and poking my finger. |
 |
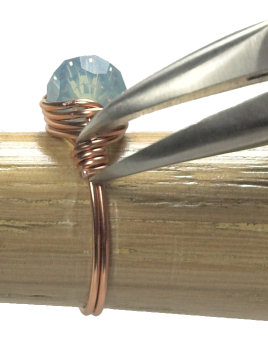
Step 9At this point, I gently squeeze the newly cut tip of wire with my pliers to snug it in so it won't catch or scratch. |
 |
Step 10At this point, I transfer the ring to an unmarked wooden mandrel. My mandrel is rather scuffed up at this point, as you can see in the picture, from this part of the project, and I used one of the inexpensive ones sold in the wire wrapping tools page. Your ring will not be perfectly shaped after you've finished the wrapping and the sides. I put the ring onto my "cheap" mandrel, and push it firmly down all the way. I turn it around in a circle a few times, and this brings the ring back to the nice, round shape it ought to have. It is also where I straighten out any problems. If the side loops don't fit quite tightly together, you can gently manipulate them into place with pliers while the ring is snug on the mandrel. |
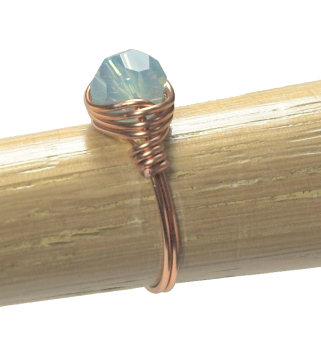 |
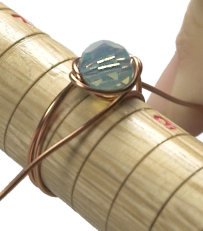
Step 11And that's it, folks! Ready to wear... (and ready to go make another one) |
 | |
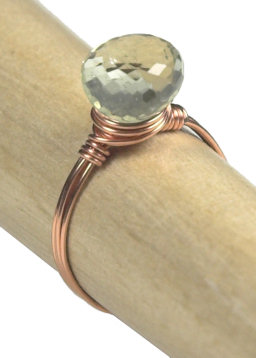 |
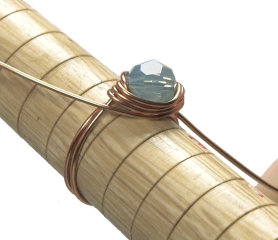
VariationsI used the same technique to make a sweet little ring out of an onion cut green amethyst stone. I had to use a skinnier wire (24 gauge) with this gem, so to make the ring a little stronger, I cut the wire a little longer, and crossed it around the back of the mandrel twice instead of once, for a four-strand wide band rather than a two-strand wide band. |
|
The jewelry you make from this design is yours do with as you please. You may make it as often as you like without any restrictions. For example, you can make this jewelry for yourself, for friends, or to sell. I do not require that you give credit to me for the design. While I assert no rights over the finished jewelry made from these instructions, the photography/images and text on this page are copyrighted as follows:
This copyright applies only to the document above, and does not apply to the rest of the website content, images and text, for which I retain full rights. |